

Guest Wi-Fi network setup: secure and simple
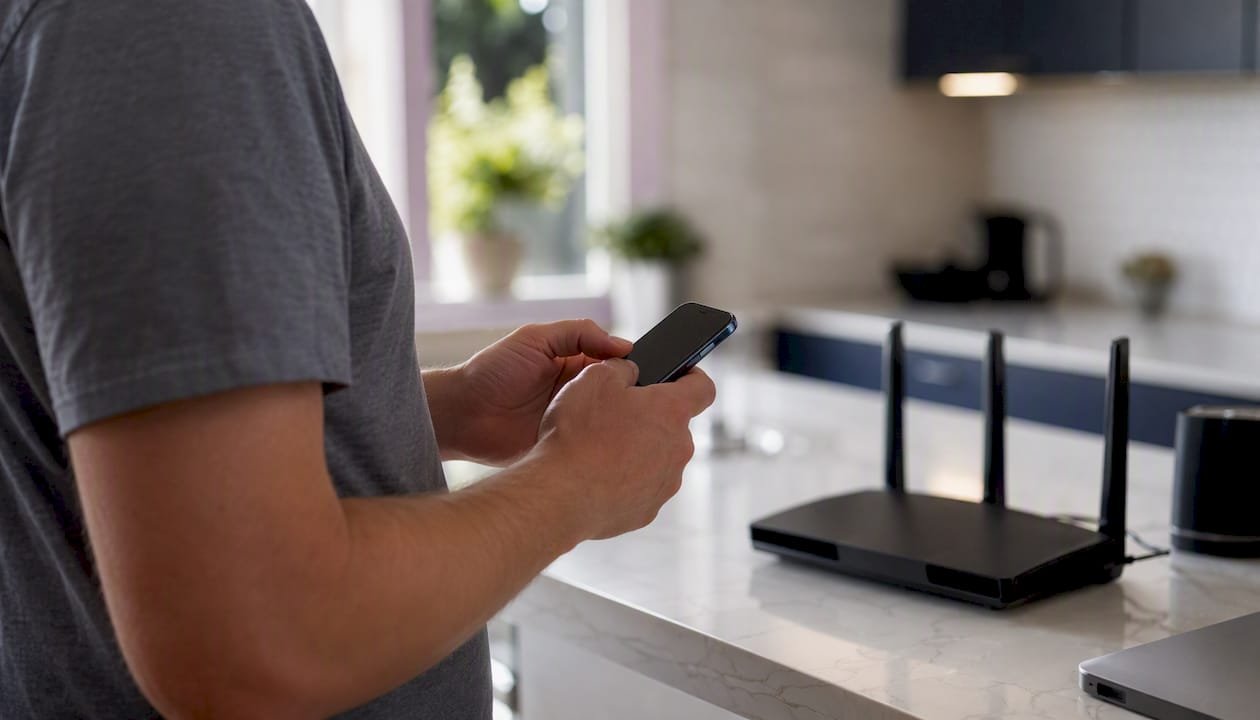
Setting up a guest Wi-Fi network is straightforward, and when done correctly, it keeps visitors online without exposing a single device on your main network. The three steps that matter most: enable a separate guest SSID on your router, turn on guest-to-LAN and client isolation, then test that a connected device cannot reach your router admin page or local devices. Most home routers and mesh systems support this natively. If yours does not, or if you need VLANs, a captive portal, or multi-access-point coordination, that is when a professional is worth calling.
Key takeaways
A secure guest Wi-Fi network requires three things done correctly: a separate SSID with its own password, explicit isolation settings enabled and verified, and a regular maintenance routine to keep it locked down.
| Point | Details |
|---|---|
| Enable isolation explicitly | A guest SSID alone does not isolate traffic; enable client and LAN isolation in router settings. |
| Use WPA2 or WPA3 | Older encryption standards are broken; always select WPA2 at minimum for the guest SSID. |
| Test after every change | Verify internet works and local devices are unreachable from the guest network after setup. |
| Rotate the password regularly | Change the guest password every few months or after any non-trusted visitor. |
| PC Scientist for complex setups | For VLANs, captive portals, or multi-AP networks in NSW, PC Scientist provides onsite configuration and testing. |
Table of Contents
- What is a guest Wi-Fi network and why does it matter?
- What to check before your guest Wi-Fi network setup
- Step-by-step setup: three paths to a working guest network
- What to do when your router has no guest network feature
- Security checklist to harden the guest network
- Advanced protections worth knowing about
- How to test guest isolation and keep the network secure over time
- When DIY is fine and when to call a professional
- PC Scientist can set it up for you
- Sources
- FAQ
What is a guest Wi-Fi network and why does it matter?
A guest network is a separate SSID (network name) running on its own subnet. Visitors get internet access; your private devices, files, and smart home gear stay invisible to them. As Canadian Centre for Cyber Security guidance confirms, this isolation is a meaningful security control, not just a convenience feature.
The practical benefits split across three areas:
- Security isolation. Untrusted devices, whether a guest's laptop or a contractor's phone, cannot scan or reach devices on your primary network. This matters especially for smart home gear: thermostats, cameras, and door locks should never share a subnet with a stranger's device.
- Performance control. Many routers let you cap bandwidth on the guest SSID, so a visitor streaming video does not choke your work connection.
- Simple onboarding. Guests get one password (or a QR code) and are online in seconds, with no access to your printer, NAS, or anything else.
Two quick examples make this concrete. At home, putting IoT devices like smart speakers and security cameras on the guest network means a compromised bulb cannot pivot to your laptop. Microsoft's wireless safety guidance specifically recommends this approach for non-essential smart devices. In a small office, a guest SSID lets clients connect during meetings without touching the accounting server or internal file shares.
What to check before your guest Wi-Fi network setup
A few minutes of preparation prevents the most common setup blockers.
- Confirm guest network support. Log into your router's web interface (usually at
192.168.0.1or192.168.1.1) or open the manufacturer's app and look for a "Guest Network" or "Guest Wi-Fi" section. Not every router or ISP-supplied gateway includes this feature. - Gather your admin credentials. You need the router admin username and password, which are different from your Wi-Fi password. Check the label on the router if you have never changed them.
- Update firmware first. An outdated router is a security liability before you even add a guest SSID. Most modern routers check for updates inside the admin panel under "Advanced" or "Administration."
- ISP-supplied gateways. Some ISP gateways lock certain settings or require you to use their app rather than a browser-based interface. If your gateway is in "bridge mode," the router behind it handles guest network configuration instead.
- Third-party routers. Asus, TP-Link, Netgear, and Ubiquiti all expose guest settings in different menu locations, but the underlying options are consistent: SSID name, password, band, and isolation toggle.
Pro Tip: Before you start, write down your router's admin IP, username, and password somewhere offline. You will need them again when you rotate the guest password or update settings.
Step-by-step setup: three paths to a working guest network
Path A: router web interface
- Open a browser and navigate to your router's admin IP (commonly
192.168.0.1or192.168.1.1). - Log in with your admin credentials.
- Find the "Guest Network," "Guest Wi-Fi," or "Guest Zone" section, often under "Wireless" or "Advanced."
- Enable the guest SSID and give it a name that does not reveal your address or business name.
- Set a unique password using WPA2 or WPA3 encryption. Never reuse your primary network password.
- Enable "Guest Network Isolation," "AP Isolation," or "Client Isolation" - the label varies by brand, but the function is the same: it prevents guest devices from communicating with each other and with your main network.
- Disable local network access if that toggle appears separately.
- Save and apply.
Path B: router or manufacturer mobile app
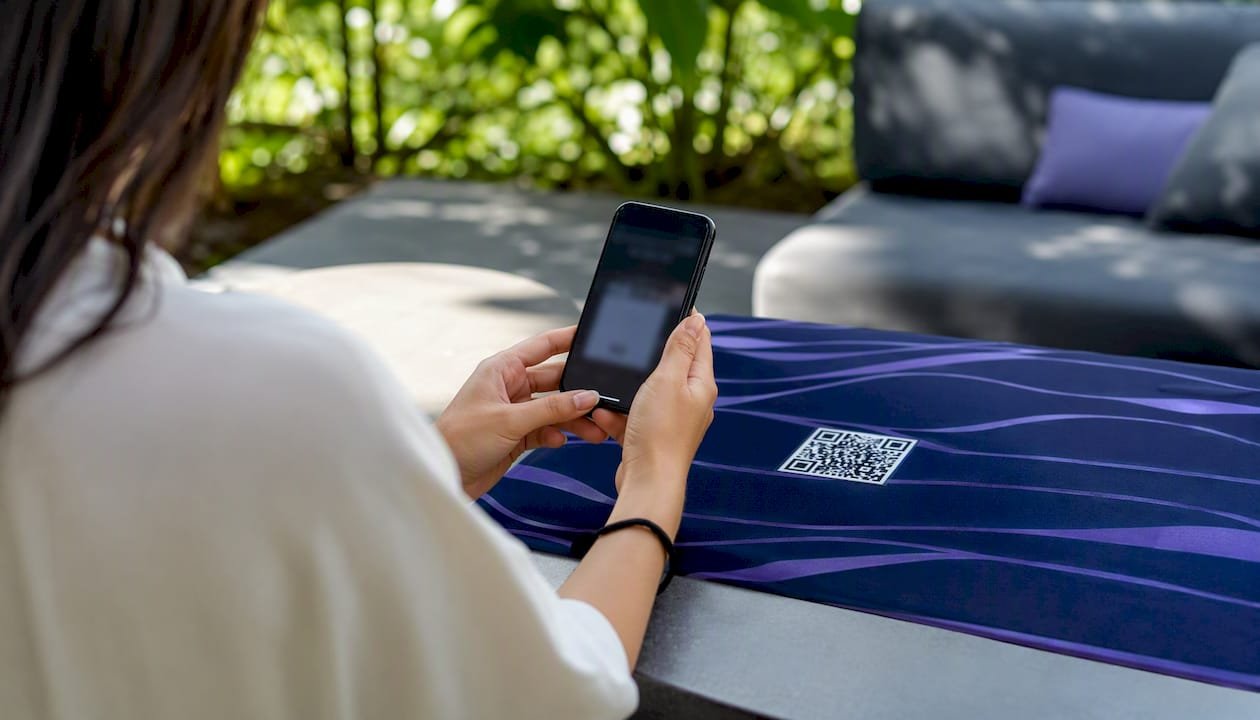
Most current routers from TP-Link (Tether), Asus (ASUS Router), Netgear (Nighthawk), and Eero offer a mobile app that surfaces guest network setup on the home screen. The flow is typically: tap "Guest Network" → toggle on → name it → set a password → share via QR code. The QR code option is worth using: guests scan it with their phone camera and connect without typing a password.
Path C: mesh systems and ISP apps
Mesh systems like Google Nest WiFi, Eero, and TP-Link Deco manage guest networks through their companion apps rather than a browser interface. The guest SSID usually appears as a top-level option. One caveat: some mesh systems apply isolation at the app level but do not expose the underlying client isolation toggle. After enabling the guest network, always test isolation manually (see below) rather than assuming the app has handled it.
ISP-supplied gateways from providers like Telstra, Optus, and TPG vary significantly. Some expose a guest SSID option in their app; others require a browser login. Check your ISP's support page for model-specific steps.
Testing isolation after setup
- Connect a phone or laptop to the guest SSID and confirm it reaches the internet.
- Open a browser and try to load your router admin page (e.g.
192.168.1.1). It should time out or refuse. - If you have a NAS, shared printer, or another known local device, try to access its IP address from the guest network. No response means isolation is working.
- As How-To Geek notes, a second SSID alone does not guarantee isolation. You must explicitly enable the isolation setting and then verify it.
Pro Tip: Name your guest SSID something neutral like "Visitors" or your business name followed by "-Guest." Avoid names that identify your home address or hint at your router brand, which can help an attacker narrow down known vulnerabilities.
What to do when your router has no guest network feature
Not every router supports a dedicated guest SSID. Norton's setup guidance notes that alternatives are sometimes necessary, and three options are worth considering.
- Option 1: repurpose an old router. Connect an old router to your modem or main router via Ethernet, configure it with its own SSID and subnet (e.g.
192.168.2.x), and disable its DHCP if you are running it as an access point. This creates genuine subnet separation at minimal cost. - Option 2: add a dedicated access point. A standalone access point like a TP-Link EAP or Ubiquiti UniFi AP can broadcast a separate SSID on its own subnet. Ethernet backhaul is strongly preferred over a wireless uplink for stability and cleaner isolation.
- Option 3: VLANs with a managed switch. VLANs give you granular control over which traffic reaches which segment of the network. They are the right tool for offices with multiple departments or hospitality venues with many concurrent guests. The trade-off is complexity: you need a managed switch, a VLAN-capable router, and some networking knowledge to configure it correctly.
Pro Tip: If you go the old-router route, factory reset it first and update its firmware before putting it into service. An old router running outdated firmware is a security risk even on a separate subnet.
| Option | Best for | Isolation quality | Complexity |
|---|---|---|---|
| Old router as access point | Single home or small office | Good | Low |
| Dedicated access point | Small business, reliable throughput | Good to excellent | Medium |
| VLANs and managed switch | Multi-department office, venue | Excellent | High |
One warning applies to all three: double NAT (two routers each performing network address translation) can cause issues with some applications and makes troubleshooting harder. Test thoroughly after any change, and document your subnet layout.
Security checklist to harden the guest network
Getting the guest SSID live is step one. Locking it down properly is step two. Consumer Reports recommends enabling a separate password and testing that guests cannot reach local resources, and that is the baseline. The full checklist goes further.
- WPA2 or WPA3 encryption only. WEP and WPA (original) are broken. If your router only offers these, replace it.
- Unique guest password. Never reuse the primary network password. A short, memorable passphrase works well.
- Client isolation enabled. This prevents guest devices from communicating with each other, which matters in shared spaces like waiting rooms or cafés.
- LAN access disabled. Confirm the guest SSID cannot reach your router admin interface or any local IP range.
- WPS disabled. Wi-Fi Protected Setup has known vulnerabilities and should be off on both the main and guest networks.
- Automatic firmware updates enabled. If your router offers this, turn it on. If not, check manually each month.
- Guest password rotated regularly. Every few months, or immediately after a non-trusted guest visits.
- DNS filtering considered. Pointing the guest network's DNS to a filtering resolver (such as Cloudflare's
1.1.1.3for families, or a business-grade resolver) adds a content layer without requiring software on guest devices.
| Setting | Recommended value | Why it matters |
|---|---|---|
| Encryption | WPA2 or WPA3 | Protects traffic in transit |
| Guest password | Unique, strong passphrase | Prevents credential reuse attacks |
| Client isolation | Enabled | Stops lateral movement between guest devices |
| LAN access | Disabled | Keeps private devices invisible |
| WPS | Disabled | Removes a known attack vector |
| Firmware | Current | Patches known router vulnerabilities |
Pro Tip: If your router supports a bandwidth limit on the guest SSID, set one. It prevents a single guest from saturating your connection and is a simple quality-of-life control that costs nothing to enable.
Advanced protections worth knowing about
For home users, the checklist above is sufficient. For businesses, a few additional layers are worth understanding.
Cloudflare's reference architecture for guest wireless networks recommends DNS-centric protections as the most practical first layer for guest networks. The reason is simple: DNS filtering requires no software on visitor devices and can be enforced entirely through router or firewall rules. You point the guest network's DNS to a filtering resolver and block outbound DNS to any other server. The limitation is real, though. DNS over HTTPS (DoH) and DNS over TLS (DoT) allow devices to bypass standard DNS filtering by encrypting DNS queries to a resolver of their choice. A complete implementation blocks those protocols at the firewall level as well.
- Captive portals. For businesses, a captive portal presents a login or acceptance page before granting internet access. Cisco recommends captive portals specifically for the Acceptable Use Policy (AUP) acceptance they provide, which adds a layer of liability protection. Hotels, medical practices, and retail venues benefit most from this. Consumer-grade routers rarely support captive portals natively; you typically need a business-grade access point or a cloud-managed system.
- Firewall rules and egress controls. Cloudflare's guidance also covers using port address translation (PAT) and egress IP controls to map and monitor guest traffic. This is useful when you need to demonstrate that guest activity is logged and separated, for example in a compliance context.
- When to call a professional. A single-router home setup is well within DIY reach. A venue with multiple access points, a captive portal tied to a booking system, or a network that must meet compliance requirements is not. A professional network and Wi-Fi assessment covers site survey, VLAN design, captive portal configuration, and documentation, and it pays for itself quickly when the alternative is a misconfigured network that exposes guest or business data.
How to test guest isolation and keep the network secure over time
Testing checklist
- Connect a device to the guest SSID.
- Confirm internet access works (load a website, run a speed test).
- Attempt to load the router admin page from the guest device. It should be unreachable.
- Try to ping or browse to a known local device IP (NAS, printer, another computer). No response confirms isolation.
- If you have a second device on the main network, confirm the guest device cannot see it in any file-sharing or discovery panel.
Maintenance schedule
- Monthly: check for router firmware updates and apply them.
- Every 3 months (or after any non-trusted guest): rotate the guest password and update any shared QR codes.
- Quarterly: review the connected devices list in your router admin panel. Unknown devices on the guest network are worth investigating.
- Annually: reassess whether your router's guest network feature still meets your needs, particularly if your household or business has grown.
Use the router's connected devices list as your first monitoring tool. Some routers and mesh systems also support time-limited access or scheduled on/off for the guest SSID, which is useful for businesses that only want guest Wi-Fi available during business hours.
When DIY is fine and when to call a professional
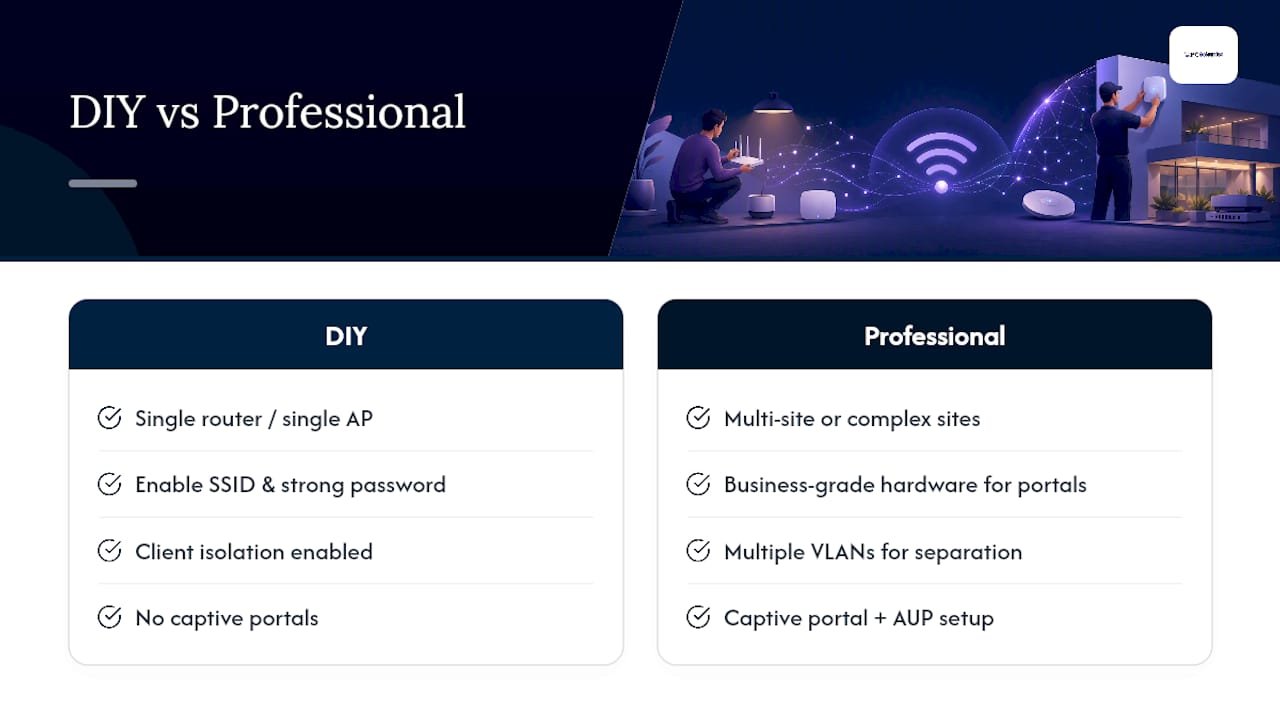
For a single-router home or a small office with one access point, setting up a guest network is genuinely a DIY task. Enable the SSID, set a strong password, confirm isolation is on, and test it. That covers the vast majority of households and small businesses.
The calculus changes in a few specific situations. If you need multiple VLANs to separate staff, guests, and IoT devices, the configuration complexity rises sharply. Captive portals with AUP acceptance, particularly for hospitality or healthcare settings, require business-grade hardware and careful configuration to work reliably and legally. Multi-site setups, where guest Wi-Fi must behave consistently across several locations, need centralised management that consumer equipment cannot provide.
What a professional visit actually delivers: a site survey to map coverage and interference, VLAN or captive portal design matched to the business's needs, end-to-end testing with documented results, and a configuration record you can hand to the next technician. That documentation alone saves hours when something changes. For businesses that also run networked CCTV systems, keeping cameras on a separate, isolated VLAN away from the guest network is a security requirement, not an optional extra, and it is the kind of detail a professional will catch and configure correctly.
PC Scientist can set it up for you
Skipping the DIY path entirely is a legitimate choice, and for businesses in particular, it is often the faster one. PC Scientist provides onsite and remote Wi-Fi and network setup across New South Wales, covering everything from a straightforward guest SSID on a home router to full VLAN segmentation, captive portal configuration, and multi-access-point deployments for offices, hospitality venues, and professional practices.
A typical job includes a site survey, configuration of the guest network and isolation settings, end-to-end testing, and a written summary of what was set up and why. For businesses that need cybersecurity hardening alongside network setup, both are handled in the same visit. PC Scientist serves the Central Coast, Sydney Metropolitan area, Newcastle, Wollongong, the Southern Highlands, and surrounding NSW regions, with remote support available where onsite is not needed. To book a network assessment or get advice on the right setup for your situation, contact PC Scientist directly.
Sources
These sources are worth bookmarking for model-specific steps and deeper technical detail.
- ITSAP.80.023 - Guest Wi‑Fi (Canadian Centre for Cyber Security)
- Securing guest wireless networks (Cloudflare reference architecture)
- Six best practices for guest Wi‑Fi security (Cisco Spaces)
- Turning on guest Wi‑Fi does less than you think it does (How‑To‑Geek)
- How to get faster, safer Wi‑Fi with a guest network (Consumer Reports)
Recommended
- Network Scientist | Wi-Fi & Router Help NSW | PC Scientist
- Hotel, Motel, Airbnb & Strata Tech | PC Scientist
Frequently Asked Questions
Straight answers about Guest Wi-Fi network setup: secure and simple - without jargon or pressure. Call 0493 563 381 for advice, or get help below.
Want the quickest answer? 0493 563 381 for free advice.
Most modern routers include a guest network feature, but not all do. If yours does not, a second router or a dedicated access point can create equivalent isolation.
Select the guest SSID from the Wi-Fi list on your device and enter the password provided by the host. If the host has generated a QR code, scan it with your phone camera to connect without typing the password.
The main trade-offs are a separate password to manage, slightly more router configuration, and the fact that guests cannot access shared resources like printers. For most households and businesses, these are minor compared to the security benefit.
Yes. A properly configured guest network runs on its own subnet, so guest devices receive IP addresses from a different range than your main network devices. This subnet separation is what makes isolation possible.
Wi-Fi help across NSW
Still stuck setting up guest Wi-Fi?
If the steps above did not get Wi-Fi behaving, that is okay. Get help in your area and we will take it from here.
Start here
Get Wi-Fi help
Optional Need a Sydney city or region?
Choose a side of Sydney
These are Sydney cities and regions, such as the Northern Beaches or Inner West. First tap a side of Sydney. Then open the city or region that covers you.
C Sydney City / Inner 3 areas
N Northern Sydney 6 areas
NW North-West / Central Sydney 3 areas
W Western Sydney 1 area
SW South-West Sydney 3 areas
S Southern Sydney 2 areas
Optional Find your suburb
Type a suburb from our listed coverage. This opens the matching city or region page for this topic. Listed suburb pages are general technology services, not this specialist page.
If your suburb is not listed, use the city or region list above, or call 0493 563 381.
Disclaimer
The information in this article is provided for general educational and informational purposes only. While PC Scientist strives to keep all content accurate and up to date, technology issues can vary depending on your device, software, network configuration, and individual circumstances. Always back up important data before attempting repairs or system changes. If you are unsure or the issue cannot be resolved safely, contact PC Scientist today for professional onsite or remote IT support. PC Scientist is not liable for any loss of data, damage, or other issues resulting from the use of the information provided in this article.