


Laptop won't turn on? Here's what to check first
If your laptop won't turn on, three checks solve most cases: confirm the wall outlet and adapter are actually delivering power, do a hard reset (hold the power button for a manufacturer-recommended duration after unplugging everything), then test with a known-good charger or, if the battery is removable, without it. If none of that brings back a single light, fan spin, or sound, you're likely dealing with a hardware fault rather than a quick fix.
Try these in order:
- Plug the laptop directly into a different wall socket, skipping any power strip or board.
- Check the AC adapter for fraying, bent pins, or a loose connection at both ends.
- Unplug every USB device, external drive, and monitor.
- Disconnect the charger, remove the battery if it's removable, then hold the power button for a manufacturer-recommended duration.
- Reconnect just the charger (no battery yet) and try powering on.
- No lights, no fan, no sound at all → likely no power reaching the board.
- Lights or fan but a black screen → possible display or graphics fault, not a dead unit.
- Smell of burning, visible swelling, or liquid residue → stop immediately.
Pro Tip: If the laptop was recently near spilled liquid or has visible swelling near the battery, don't keep pressing the power button. Repeated attempts on a damaged battery can make things worse.
| Point | Details |
|---|---|
| Try power basics first | Test the outlet, adapter, and a hard reset before assuming the worst. |
| Watch for signs of life | Lights or fan noise point to a display issue, not total power failure. |
| Stop if you see damage | Liquid residue, swelling, or burning smells mean it's time to stop and call a professional. |
Key Takeaways
Most laptops that won't turn on are fixed by checking the power source, running a proper hard reset, and testing with a known-good charger before assuming hardware failure.
| Point | Details |
|---|---|
| Rule out power first | Test the outlet, bypass power strips, and inspect the adapter before anything else. |
| Hard reset resolves plenty | Disconnect power and hold the button a manufacturer-recommended duration to drain residual electricity. |
| Signs of life change the diagnosis | Lights or fan noise with a black screen usually means display, not total failure. |
| Document beeps and blinks | These patterns are diagnostic signals worth recording before calling anyone. |
| Book PC Scientist when DIY runs out | Onsite diagnostics and data recovery cover the point where home troubleshooting stops helping. |
Table of Contents
- Safety and prep before you start troubleshooting your laptop
- Step-by-step troubleshooting for a laptop that won't turn on
- What if you're troubleshooting a MacBook instead?
- What do the lights and beeps on your laptop actually mean?
- Common hardware failures behind a laptop that won't power up
- When should you stop troubleshooting and call a technician?
- Simple habits that stop a no-power laptop happening again
- What we see most often on onsite laptop repair visits
- Get your laptop diagnosed properly instead of guessing further
- Sources
- FAQ
Safety and prep before you start troubleshooting your laptop
Before you touch anything else, unplug the laptop from the wall and make sure your hands are dry. Don't attempt to open the case if there's a warranty seal still intact. Opening a sealed unit yourself can void your warranty even if the fault turns out to be something simple.
Gather a few things first: a known-good charger (borrowed from a friend with the same laptop model, if possible), a small screwdriver only if you're comfortable removing panels, and something to jot down details.
Before you start, record:
- The exact model and serial number (usually on the base or in the original box).
- Anything that changed recently, such as a Windows update, a dropped charger, or a spill.
- Any beeps, blinks, or fan noise you noticed, and when they happened.
- Photos of any visible damage, dents, or swelling.
Pro Tip: Take a quick photo or 10-second video of any lights, blinks, or beep patterns with a timestamp. If you end up calling a technician, this saves them (and you) a lot of back-and-forth guessing.
Step-by-step troubleshooting for a laptop that won't turn on
Work through these in order. Each stage rules out a specific cause, and jumping ahead often means missing something simple.
1. Check the power source itself. Plug a lamp or phone charger into the same outlet to confirm it's live. Bypass any power strip or surge protector entirely, since these fail more often than people expect, and plug the laptop straight into the wall. This is the fastest way to resolve no power, no POST, or no boot issues before you touch anything inside the machine.
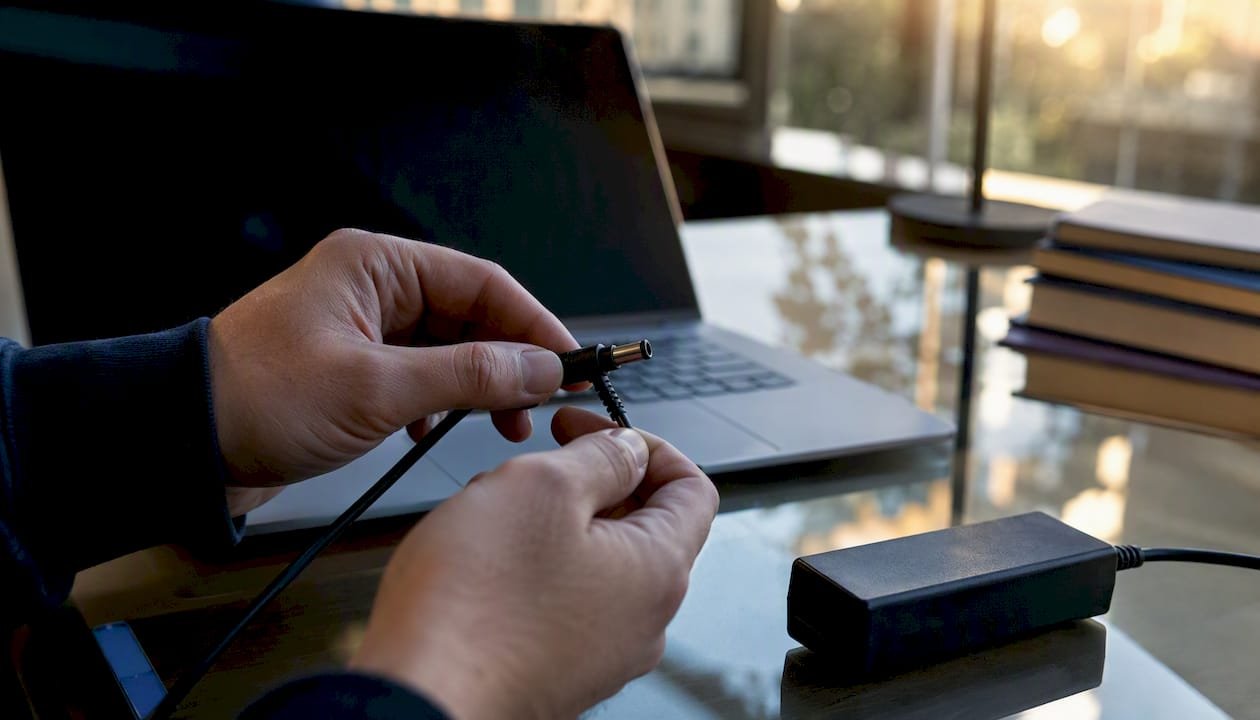
2. Inspect the AC adapter closely. Look for fraying near the connector, bent pins, or a cable that's been chewed, crushed, or kinked. Some adapters have a small LED near the plug. If it's dark when connected to power, the adapter itself may be dead. If you can borrow a charger with matching voltage and amperage from the same laptop model, try it. Adapter failures are common enough that a known-good adapter test is one of the highest-value checks you can do, because a dying adapter mimics motherboard failure almost perfectly.
3. Strip it back to bare essentials. Unplug every USB drive, external monitor, printer, mouse, and any DVD or bootable USB stick. A stuck disc or USB drive can block the normal startup sequence entirely, and it's an easy thing to overlook when you're focused on bigger problems.
4. Run the hard reset (power drain). Disconnect the charger, remove the battery if your model allows it, then hold the power button down for a manufacturer-recommended duration to drain residual electricity sitting in the motherboard's capacitors, which often clears startup glitches, all without touching your files. Manufacturer guidance generally recommends this window, though some community repair guides suggest holding up to 60 seconds on machines with sealed, non-removable batteries. Try the manufacturer's recommended time first, and only extend it if that doesn't work.
5. Reconnect the charger only, battery still out if possible. Press the power button and watch closely. If it powers on now, your battery is likely the culprit and needs replacing. If it still won't start, the issue sits elsewhere.
6. Read whatever signs of life you get. No LEDs, no fan, no noise at all means power genuinely isn't reaching the system, similar to a car with no fuel getting to the engine. LEDs or a spinning fan but a blank screen is a different problem entirely, usually pointing to the display or graphics rather than total failure.
7. If you've got lights and fan noise but a black screen, try a forced display refresh. On Windows, press Windows Key + Ctrl + Shift + B. It sounds odd, but this shortcut restarts the graphics driver without a full reboot and can bring a stuck display back to life. If that does nothing, plug in an external monitor using HDMI or USB-C. If the external screen shows an image, the problem is your laptop's panel or cable, not the motherboard.
Pro Tip: Don't skip the external monitor test just because your laptop screen looks completely dead. A cracked internal display cable is a common, cheap fix that gets mistaken for a dead motherboard all the time.
8. Note any beep codes or blink patterns. Some laptops beep in specific sequences or flash the power LED in patterns when something's wrong internally, usually RAM or CPU related. These aren't random. They're a deliberate diagnostic language built into the firmware, and manufacturer pages such as Dell's diagnostic indicator guide map specific patterns to specific faults.
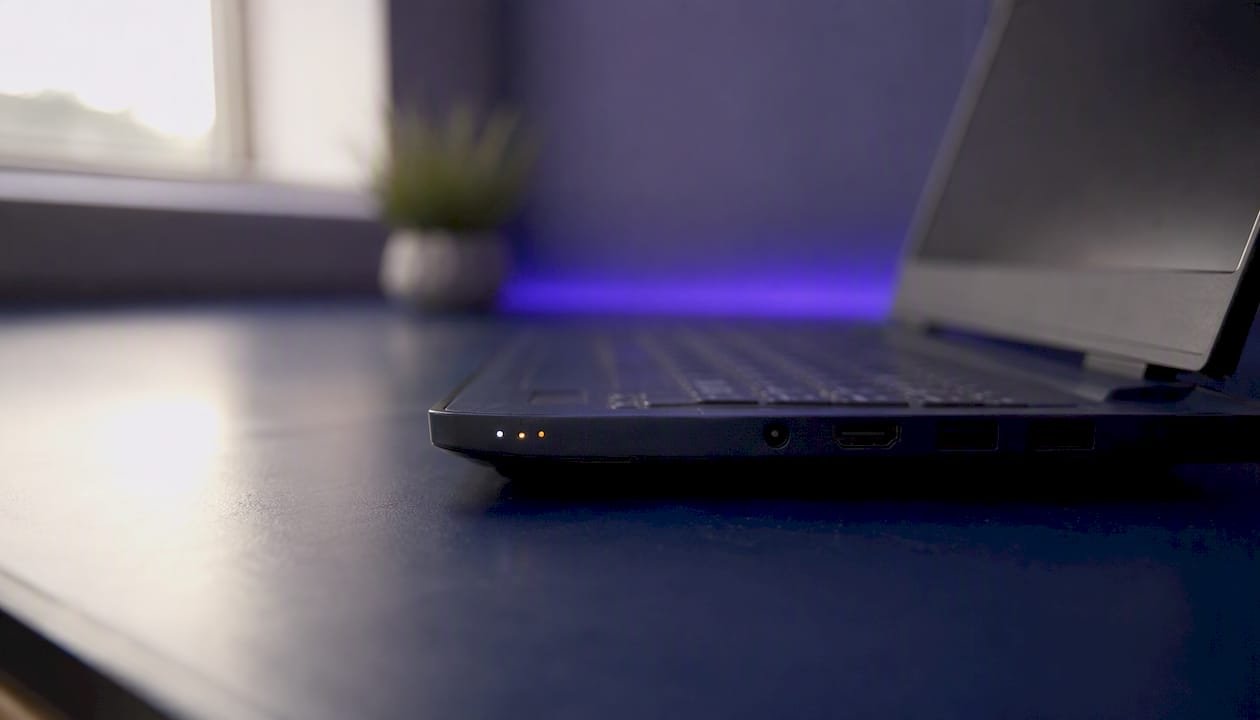
Pro Tip: Count the beeps or blinks slowly, write down the exact sequence (like "3 beeps, pause, 2 beeps"), and check it against your manufacturer's support page before calling anyone. It can save you a diagnostic fee entirely.
9. If you're comfortable opening the base panel, reseat the RAM. Loose memory modules are a surprisingly common cause of a laptop that won't boot, and removing and reseating them is quick on most serviceable designs. Power off completely, remove the battery, ground yourself by touching an unpainted metal surface, then gently pop the RAM sticks out and click them back in. If you've recently added a second stick of RAM or a new drive, remove it and test with the original configuration.
10. Consider a CMOS or BIOS reset if you're getting partial power. Most laptops have a small reset pinhole or a battery on the motherboard for this. If your laptop powers on but won't get past a black screen or repeated restart loop, resetting BIOS/UEFI to factory defaults can clear a corrupted setting.
Pro Tip: Only attempt a BIOS reset if you're getting some sign of power. If your laptop is completely dead with no lights or fans, a BIOS reset won't help you and isn't worth the risk of opening the case.
11. Check for overheating or liquid damage before going further. Feel the base and vents. If they're unusually hot even though nothing's running, or you notice a burning smell, stop and let the unit cool fully before trying again. If you suspect liquid got inside, don't plug it in at all. Remove the battery if possible and let it dry completely for at least 48 hours before attempting to power it on.
What if you're troubleshooting a MacBook instead?
MacBooks use a different reset process, and it matters which model you have. Intel MacBooks with a T2 chip and older Intel Macs support SMC and NVRAM resets. Apple Silicon Macs (M1, M2, M3, and newer) don't have an SMC chip at all, so those resets simply don't apply.
For Intel MacBooks with a removable battery, a full SMC reset involves shutting down, then holding Shift, Control, Option, and the power button together for 10 seconds. For MacBooks with the T2 chip and non-removable batteries, shut down, then hold the power button alone for 10 seconds before releasing it.
For PRAM/NVRAM, restart the Mac and immediately hold Command, Option, P, and R for about 20 seconds until you hear a second startup chime.
- Shut down the Mac completely (or force it off if it's unresponsive).
- For Intel/T2 models, follow the correct SMC reset combination for your exact model.
- Try PRAM/NVRAM reset if the SMC reset doesn't help.
- On Apple Silicon Macs, simply hold the power button for around 10 seconds, then release and press again to restart.
Apple Silicon Macs don't have a separate SMC to reset. If an M1, M2, or M3 MacBook won't power on after a standard restart attempt, that's usually a sign it needs professional diagnostics rather than a DIY fix.
For exact steps matched to your specific model and year, Apple's own support pages are worth checking before you try anything else, since reset combinations have changed across generations.
Pro Tip: On MacBooks without a physical power button (some models use Touch ID instead), hold Touch ID for a few seconds rather than searching for a button that isn't there.
What do the lights and beeps on your laptop actually mean?
Every light, beep, and fan sound your laptop makes at startup is trying to tell you something specific. Learning to read them properly narrows down the fault before you even open the case.
- No lights, no fan, no sound: power isn't reaching the system at all. Focus on the outlet, adapter, and battery.
- Lights on but no fan: partial power, possibly a stalled boot process or firmware issue.
- Fan spinning, lights on, but black screen: likely a display, cable, or graphics problem rather than total failure.
- Repeated beeps in a pattern: usually points to RAM, CPU, or motherboard component failure.
- Drive activity light flickering with no display: the system may be booting but failing to send a signal to the screen.
| Indicator combination | Likely cause | Suggested next step |
|---|---|---|
| No lights, no fan, no sound | No power reaching the laptop | Test outlet, adapter, and hard reset |
| Lights on, no fan | Possible firmware or power circuit stall | Try hard reset, then known-good charger |
| Fan running, black screen | Display or graphics fault | Try forced display refresh, external monitor |
| Repeated beep codes | RAM, CPU, or motherboard fault | Document pattern, check manufacturer diagnostic page |
| Drive noise, no display | Boot may be occurring without video output | Test external monitor before assuming failure |
Pro Tip: Record a short video of the beeps or blinking lights on your phone before calling a technician. Describing "three quick beeps then a pause" from memory is far less reliable than playing it back.
Common hardware failures behind a laptop that won't power up
Once the basic checks are exhausted, a handful of components cause most no-power laptop failures. The power jack or charging port can wear loose or crack internally, especially if the charger cable gets yanked at an angle repeatedly. A failing battery often shows up as a laptop that only powers on while plugged in. The motherboard itself, GPU, and screen are the other usual suspects, and each shows slightly different symptoms.
| Component | Typical sign | Rough repair time | Broad cost band |
|---|---|---|---|
| Power jack/port | Charger only works at certain angles | Same day to 2 days | Low to medium |
| Battery | Only powers on while plugged in | Same day | Low |
| AC adapter | No LED, cable damage visible | Same day (often just a replacement) | Low |
| Screen/display cable | Fan runs, external monitor works fine | 1 to 3 days | Medium |
| Motherboard | No signs of life after all checks | 3 to 7+ days | Medium to high |
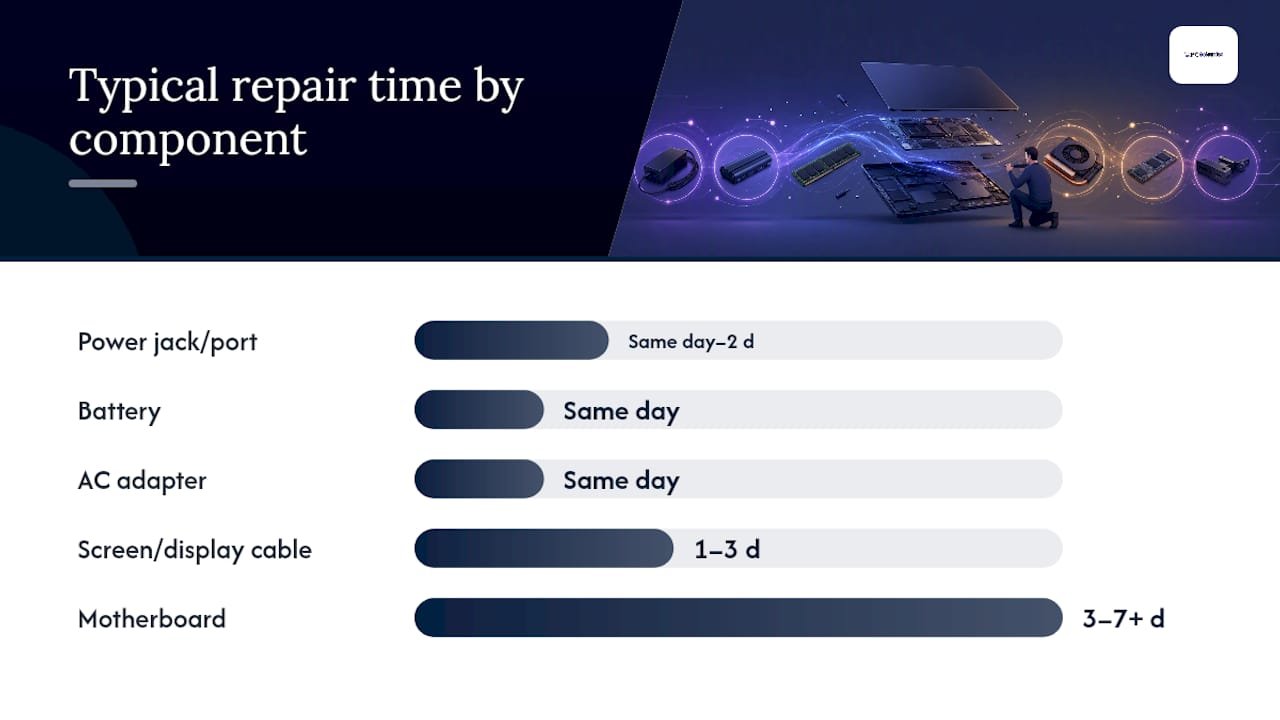
Costs and turnaround shift depending on whether parts are proprietary to your laptop's brand, whether there's water damage complicating the repair, and whether the unit is still under warranty. A laptop under warranty may need to go through an authorised service centre rather than an independent repairer to keep the warranty intact.
Before sending your laptop anywhere, prioritise your data. If the laptop won't boot but shows any signs of power, a technician can often remove the internal drive and connect it externally to pull your files off before attempting repair. This is worth asking about upfront, especially if you don't have a recent backup.
Roughly one in five laptop failures that reach a workshop trace back to the battery or charging circuit rather than the motherboard, which is why testing with a known-good charger early on matters so much.
Don't attempt to peel back a warranty seal or open a sealed unit yourself if you're hoping to claim under warranty. Doing so can void your cover even if the underlying fault has nothing to do with what you opened.
Before you contact anyone, collect:
- The exact model number and serial number.
- Every step you've already tried, in order.
- Any beep codes, blink patterns, or unusual smells or sounds.
- Whether the laptop is still under warranty.
Pro Tip: Write this list down in your phone's notes app before you call. Technicians can usually give you a faster, more accurate estimate over the phone when you've got the model number and symptom list ready instead of describing it from memory.
When should you stop troubleshooting and call a technician?
Stop immediately if you see liquid residue, corrosion, a swollen battery, a burning smell, or a charging port that's visibly broken or bent. These aren't DIY territory, and continuing to try power-on attempts on a swollen battery is a genuine safety risk.
It's also time to call in professional computer repair support if you've worked through the full hard reset and known-good charger tests and still have zero signs of life. At that point you're almost certainly looking at a motherboard or internal component fault that needs proper diagnostic equipment.
When you do contact a technician, have this ready:
- The exact symptoms (lights, sounds, smells, when it started).
- Every troubleshooting step you've already tried.
- Any beep codes or blink patterns you documented.
- Model and serial number.
- Warranty status.
- Whether your data is backed up already.
Worth asking upfront: is there a diagnostic fee, and does it apply toward the repair cost if you go ahead? What's separated as parts versus labour? What's the realistic turnaround time? And critically, what's their policy if data recovery is needed alongside the repair?
Pro Tip: If your laptop holds sensitive files, ask whether onsite diagnostics is possible before it leaves your sight. For less sensitive setups, a workshop repair is often faster since the technician has full tool access on the bench.
Simple habits that stop a no-power laptop happening again
A few small habits go a long way toward avoiding this whole situation next time. Keep the vents clear of dust and never run your laptop on a doona, couch cushion, or carpet where heat can't escape. Check your charger cable every few months for fraying near the connector, since that's usually where it fails first. Use a decent surge protector, particularly if you're in an area prone to power fluctuations. Give the laptop an internal dust clean roughly once a year if you're comfortable opening the case, or have it done professionally.
Battery health matters too. If your laptop's battery drains unusually fast, swells even slightly, or the laptop only runs while plugged in, that's your cue to replace it before it causes a bigger fault. A laptop battery replacement is a straightforward job when caught early, and far cheaper than dealing with the fallout of a battery that's failed completely.
Pro Tip: Take a quick photo of your laptop every few months, especially the base and battery area. If you ever need to make a warranty or insurance claim, having dated photos showing no prior damage makes the process much smoother.
What we see most often on onsite laptop repair visits
Most no-power call-outs turn out to be something simple once we're on site: a dead adapter, a battery that's quietly failed, or a power strip that's stopped passing current properly. We always start with the basics before assuming the worst, because jumping straight to "it's the motherboard" wastes both time and money if the real fault is a $30 charger.
What tends to reassure people most is knowing their files come first. Before any repair goes ahead, we talk through what's on the drive and whether it's backed up, and we're upfront about diagnostic costs before touching anything. No surprises on the invoice, no guesswork on what's actually broken.
Get your laptop diagnosed properly instead of guessing further
If you've worked through the checks above and your laptop is still dark, it's worth getting a proper diagnosis rather than continuing to poke around inside a machine that might need parts you can't easily source. PC Scientist offers onsite visits across our New South Wales service areas, so a technician can come to you, run proper diagnostics, and give you a straight answer on whether it's a charger, battery, or motherboard fault, without you having to box up your laptop and post it anywhere.

If data matters to you, and it usually does, we can often recover files from a drive even when the laptop itself won't boot, through our data recovery service. For repairs that need bench time, our computer repair service covers everything from power jack replacements to full motherboard diagnostics. Before you book, have your model number, serial number, and a quick rundown of what you've already tried ready. It'll speed up your first conversation with us considerably. If you'd rather browse everything we offer first, our main site has the full rundown. And if a repair quote comes back higher than the laptop's worth, trading it in toward something newer is often the more sensible move than sinking more money into an ageing machine.
Sources
For model-specific instructions beyond this guide, a few manufacturer pages go deeper than general advice can.
Recommended
- PC Scientist - Friendly Computer Support, Wi-Fi Help, Email Setup & Practical IT Support NSW
- Custom PC vs Prebuilt in NSW: What's Better for Gaming, Work or School?
- Custom PC vs Prebuilt in NSW: What's Better for Gaming, Work or School?
Frequently Asked Questions
Straight answers about Laptop won't turn on? Here's what to check first - without jargon or pressure. Call 0493 563 381 for advice, or get help below.
Want the quickest answer? 0493 563 381 for free advice.
Start with the power source: test the outlet, bypass any power strip, and check the adapter for damage. If that doesn't work, disconnect everything and run a hard reset by holding the power button for a manufacturer-recommended duration before trying again.
Disconnect the charger, remove the battery if it's removable, then hold the power button for a manufacturer-recommended duration to drain residual power before reconnecting the charger and pressing the power button again.
Unplug it fully, remove the battery if possible, hold the power button for a manufacturer-recommended duration, then reconnect just the charger (no battery) and try powering on. Some community guides suggest holding up to 60 seconds on sealed-battery models if the standard hold doesn't work.
Confirm the wall outlet works with another device, check the adapter for damage, and try a known-good charger. If there's still zero response after a hard reset, it's likely a hardware fault that needs professional diagnostics.
If you see any lights, hear the fan spin, or notice drive activity, the laptop has power and the fault is more likely the display or graphics. Try a forced display refresh or plug in an external monitor to confirm.
Computer repair across NSW
Still stuck when a laptop will not turn on?
If the steps above did not get the repair sorted, that is okay. Get help in your area and we will take it from here.
Start here
Get computer repair
Optional Need a Sydney city or region?
Choose a side of Sydney
These are Sydney cities and regions, such as the Northern Beaches or Inner West. First tap a side of Sydney. Then open the city or region that covers you.
C Sydney City / Inner 3 areas
N Northern Sydney 6 areas
NW North-West / Central Sydney 3 areas
W Western Sydney 1 area
SW South-West Sydney 3 areas
S Southern Sydney 2 areas
Optional Find your suburb
Type a suburb from our listed coverage. This opens the matching city or region page for this topic. Listed suburb pages are general technology services, not this specialist page.
If your suburb is not listed, use the city or region list above, or call 0493 563 381.
Disclaimer
The information in this article is provided for general educational and informational purposes only. While PC Scientist strives to keep all content accurate and up to date, technology issues can vary depending on your device, software, network configuration, and individual circumstances. Always back up important data before attempting repairs or system changes. If you are unsure or the issue cannot be resolved safely, contact PC Scientist today for professional onsite or remote IT support. PC Scientist is not liable for any loss of data, damage, or other issues resulting from the use of the information provided in this article.