
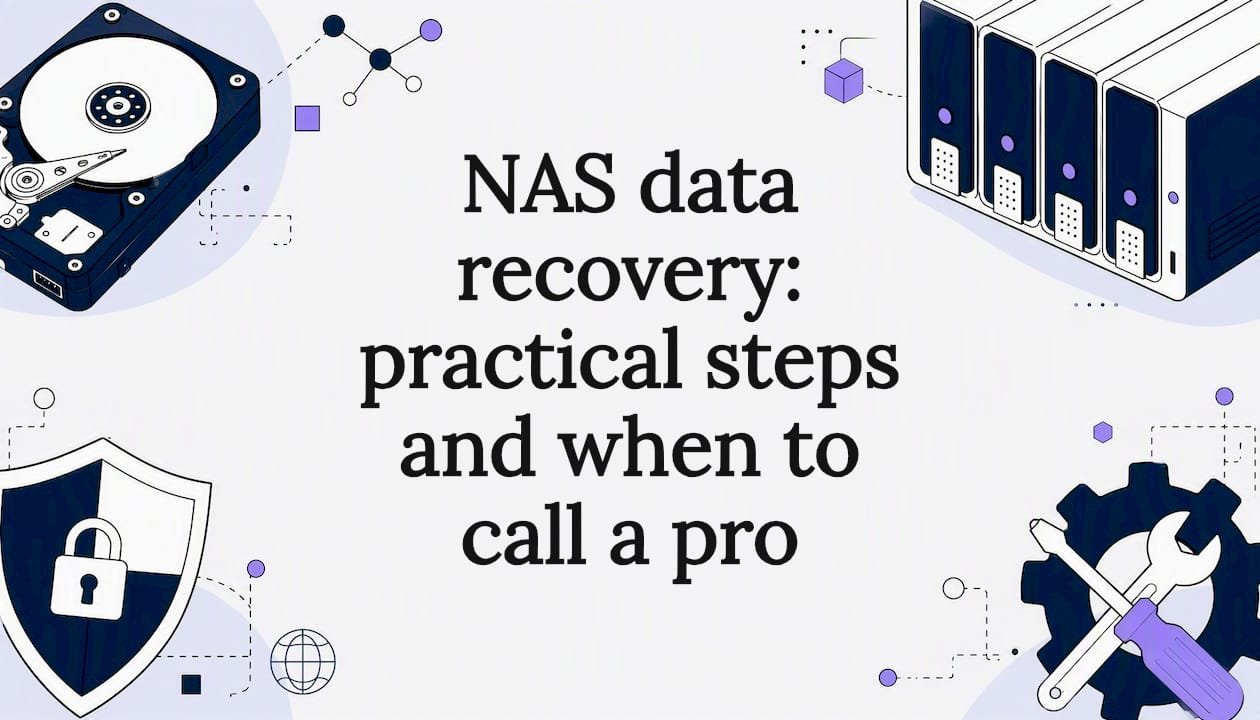
NAS data recovery: practical steps and when to call a pro
If your NAS has gone offline, stop writing to it right now. If drives are healthy and files simply vanished, disappeared after a firmware update, or got caught in an accidental delete, image the drives first and run recovery software on the copies, not the originals. If you're hearing clicking, grinding, or two or more drives have dropped out of the array, power everything down and get it to a professional before you make things worse.
That's the fork in the road for every NAS data recovery situation. Everything else in this guide helps you work out which side of it you're on.
- First move: Note the exact symptoms, photograph the drive order, bay numbers, and any error codes on the display or in DSM/QTS, then stop using the NAS immediately.
- Recommended route: DIY imaging and software recovery for straightforward logical faults; a professional lab such as Data Recovery Scientist for anything involving noise, multiple drive failures, or firmware corruption.
Pro Tip: Take photos before you touch anything. The order drives sit in a RAID array matters enormously for reconstruction, and it's the first detail people forget once panic sets in.
Key takeaways
Recovering NAS data comes down to correctly identifying whether the fault is logical or physical before you touch anything, then matching your response accordingly.
| Point | Details |
|---|---|
| Stop first, act second | Halt all writes to the NAS and photograph drive order before attempting anything else. |
| DIY suits logical faults | Image drives first, then run recovery software on the copies for deletions or corruption. |
| Physical signs mean stop | Clicking, grinding, or multiple failed drives call for a professional lab, not a DIY attempt. |
| Prevention beats recovery | A UPS, SMART monitoring, and a 3-2-1 backup plan cut the odds of ever needing recovery. |
| Verify before restoring | Open a sample of recovered files and confirm they work before trusting them back onto the NAS. |
| Where to get help | PC Scientist's Data Recovery Scientist service offers staged diagnostics and cleanroom lab access for Australian users. |
Table of Contents
- First-hour checklist: what to do and what to avoid
- A safe DIY workflow for logical NAS recovery
- Which NAS brands, file systems and RAID types DIY methods usually cover
- What causes NAS failures, and what changes your odds of getting data back
- What it costs and how long recovery actually takes
- When to call a professional, and what a reputable one actually does
- How to stop this happening again
- When we say try it yourself, and when we say stop
- How PC Scientist helps when your NAS won't cooperate
- Sources
- FAQ
First-hour checklist: what to do and what to avoid
The decisions you make in the first sixty minutes after a NAS failure often determine whether your data comes back at all. Speed matters less than restraint here - the goal is to freeze the situation, not fix it on the fly.
Work through this order:
- Stop all reads and writes to the NAS immediately, including scheduled backups, syncs, or any device still trying to access shares.
- Photograph the drive bays in order, noting serial numbers, slot positions, and any labels, before removing anything.
- Record the exact model, firmware or DSM/QTS version, and any error codes shown on the display panel or admin interface.
- Leave the unit powered off if you suspect physical failure (unusual noise, burning smell, repeated clicking); leave it powered on only if a vendor's official recovery tool explicitly instructs it.
- Do not initialise, repair, or "rebuild" the array through the NAS's own interface until you understand what triggered the fault.
A few mistakes cause more damage than the original failure. Inserting a replacement drive and letting the NAS auto-rebuild before you've imaged anything can overwrite recoverable data on a marginal drive. Running a vendor's "repair volume" function on a corrupted file system sometimes rewrites metadata that a recovery tool could otherwise reconstruct. And letting someone without RAID experience open the case or reseat drives risks turning a logical fault into a physical one.
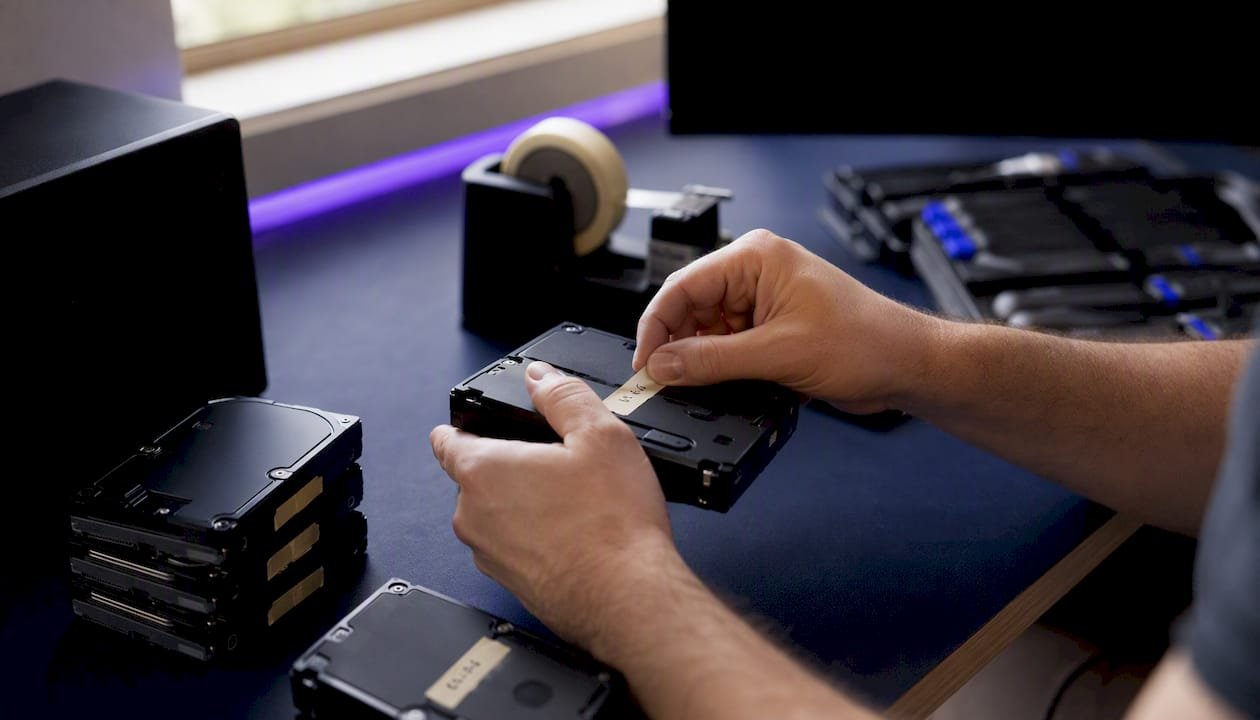
Pro Tip: If you must remove drives, label each one with a strip of tape noting its exact bay number before you pull it. Reinserting drives in the wrong order is one of the most common self-inflicted errors in RAID recovery, and it can turn a simple job into a genuinely difficult one.
A safe DIY workflow for logical NAS recovery
DIY recovery makes sense when the fault is logical rather than physical: accidental deletion, a corrupted file system, a botched firmware update, or a single degraded drive in an otherwise healthy array. It is not the right call when you hear grinding noises, when two or more drives have failed together, or when the NAS won't power on at all.
Synology's own support documentation backs this staged approach: check power and network connections first, then try DSM's built‑in tools such as online assemble or File Station's recycle bin before reaching for third-party software. Those non-destructive options exist precisely because they can restore access without ever touching the raw disk.
If DSM's built-in options don't resolve it, here's the safer path:
- Remove the drives from the NAS chassis, keeping careful note of bay order.
- Connect each drive to a PC using a SATA-to-USB adapter or dock, never directly to another NAS.
- Create a full sector-by-sector image of each drive before doing anything else. Never work on the originals.
- Run your recovery software against the disk images, not the physical drives.
- If the array used RAID, let the software attempt automatic parameter detection, or reconstruct stripe size, order, and offset manually if it fails.
- Preview recoverable files inside the software before extracting anything, checking that folder structures and file previews look intact.
- Copy recovered files to a separate, healthy drive, then verify a sample of files open correctly before treating the recovery as complete.
Several widely used tools handle different pieces of this puzzle. R‑Studio is built for exactly this kind of logical NAS recovery, including RAID reconstruction from disk images. ReclaiMe offers a more automated approach that attempts to detect RAID parameters without manual configuration, which suits less technical users. Runtime's NAS recovery tools are also commonly referenced for handling specific NAS vendor RAID layouts and are worth trying if the first two don't fully reconstruct your array.
Not every failure responds to software, and that's genuinely fine to accept early. Logical and some firmware-level issues can often be reversed with careful imaging and the right software, but physical damage to the platters or read/write heads cannot be fixed by any consumer tool. If you hear clicking, grinding, or smell anything burning during setup, stop immediately. Continuing to power a physically damaged drive risks turning a recoverable fault into permanent data loss.
Which NAS brands, file systems and RAID types DIY methods usually cover
Most home and small business NAS units come from a handful of manufacturers, and each runs its own flavour of Linux-based operating system with a particular default file system. Knowing which one you're dealing with narrows down your recovery software options considerably.
- Synology devices run DSM, typically formatted with Btrfs (newer models) or EXT4 (older models).
- QNAP devices run QTS, most commonly using EXT4.
- Netgear ReadyNAS units generally use BTRFS with a proprietary volume layer.
- Buffalo and Western Digital NAS units typically default to EXT3/EXT4 or XFS depending on the model generation.
RAID layout matters just as much as file system. Small NAS devices commonly ship with single-drive volumes, RAID 0 (striping, no redundancy), RAID 1 (mirroring), RAID 5 (single-drive fault tolerance with parity), RAID 6 (two-drive fault tolerance), RAID 10 (mirrored stripes), and Synology's proprietary SHR (Synology Hybrid RAID), which allows mixed drive sizes within one array. Reconstructing any RAID array from raw disk images requires the software to correctly identify stripe size, drive order, and parity rotation, and that's where automated tools sometimes fall short on less common configurations.
| Factor | Easier to recover from images | Often needs vendor knowledge or a pro |
|---|---|---|
| File system | EXT4, XFS | Btrfs with snapshots, proprietary volume wrappers |
| RAID type | RAID 1, RAID 0 | RAID 5/6 with unusual stripe sizes, SHR with mixed drive sizes |
| Drive health | All drives spin up and read cleanly | One or more drives clicking, not detected, or with reallocated sectors |
| Array state | Healthy or cleanly degraded | Mid-rebuild when failure occurred |
EXT4 and standard XFS volumes tend to be the most forgiving for DIY tools because their structures are well documented and widely supported. Btrfs arrays with active snapshots, and Synology's SHR when drives of different sizes are mixed, are considerably trickier. That complexity is exactly why professional labs exist for the harder cases, not because DIY tools are poorly made.
What causes NAS failures, and what changes your odds of getting data back
Not all failures are equal, and understanding which category yours falls into sets realistic expectations before you spend hours on a recovery attempt that was never going to work.
The common failure types, roughly from easiest to hardest to recover:
- Accidental deletion or ransomware on an otherwise healthy array, usually the highest success rate.
- File-system corruption, often from an unclean shutdown or interrupted firmware update.
- RAID metadata or superblock damage, where the array's configuration information is lost even though individual drives are fine.
- Firmware corruption on the drive itself, which can sometimes be repaired but often needs specialist tools.
- Single-drive physical failure within a redundant array (RAID 1, 5, 6, 10), generally recoverable by replacing the failed drive.
- Multi-drive physical failure, head crashes, or platter damage, which almost always requires a cleanroom and professional equipment.
Several factors swing the odds in your favour or against you. Drives showing early SMART warnings (reallocated sectors, pending sectors) before failure suggest gradual degradation rather than a sudden physical event, which usually means a better recovery outlook. Age matters too. Practical failure-rate data treats drives running continuously for four to five years as approaching a point where failure becomes a matter of when, not if, so an older array carries more inherent risk regardless of symptoms.
Whether the array was mid-rebuild when the second drive failed matters enormously. A degraded RAID 5 array rebuilding after one drive failure puts intense read stress on the remaining drives, and that's precisely when a second failure tends to happen. If yours failed during a rebuild, treat it as a multi-drive event and get professional advice before attempting anything further. Sudden power loss is another major factor: an unclean shutdown can corrupt RAID parity in what's known as a write hole, forcing a lengthy resync that raises the odds of a second drive failing during that process.
What it costs and how long recovery actually takes
Money and time are the two questions everyone actually wants answered, and the honest response is: it depends heavily on which failure category above you're dealing with.
For the DIY software route, many recovery tools offer a free trial that lets you scan and preview recoverable files before you pay, with paid licences typically required only to export files. Success rates on straightforward logical faults with healthy drives tend to be high; success rates on multi-drive RAID reconstructions attempted without imaging experience drop considerably, and a failed attempt can sometimes make a subsequent professional recovery harder.
Professional lab pricing generally falls into three bands, though every reputable provider should quote your specific case rather than a flat rate:
| Recovery type | Typical complexity | Typical turnaround |
|---|---|---|
| Logical recovery (deleted files, corrupted file system, healthy drives) | Low to moderate | A few business days |
| Single-drive physical recovery (one failed drive in a redundant array) | Moderate | Around a week |
| Multi-drive or cleanroom recovery (platter damage, multiple failures) | High | One to several weeks |
Within a lab job, imaging usually happens first and can take anywhere from a few hours to over a day per drive depending on its health and size. Software scanning of the images follows, then RAID parameter reconstruction if needed, then a validation pass where a technician confirms file integrity before handing anything back. Rushing any one of those stages is where amateur attempts most often go wrong.
When to call a professional, and what a reputable one actually does
Three signals mean you should stop attempting anything yourself and contact a specialist immediately: unusual mechanical noise from a drive, two or more drives failing together, or any sign of firmware or circuit board corruption that prevents a drive from being recognised at all.
A genuinely professional NAS recovery service follows a staged process rather than jumping straight to invasive work:
- Non-invasive evaluation of each drive and the array configuration to understand what actually failed.
- SMART data capture to assess drive health and wear before any physical intervention.
- Imaging attempt on each drive, working from copies rather than originals from that point forward.
- Lab analysis, including cleanroom work if platters or heads are physically compromised.
- A written quote with an honest success probability before any billable work proceeds.
A provider worth trusting won't ask you to commit blind. Expect a clear time estimate, a price band tied to your specific failure type, confidentiality around your data, cleanroom capability for physical cases, and ideally a sample list or preview of recovered files before you're asked to pay in full. That last point is worth insisting on: a legitimate lab can show you filenames and folder structures from a successful scan without handing over the actual files, which proves the recovery worked before money changes hands.
If the fault turns out to be a hardware issue with the NAS enclosure itself rather than the drives (a dead power supply, a fried backplane), that's a separate repair job, and a computer and hardware repair specialist can assess whether the enclosure is salvageable once your data is safely off the drives.
Pro Tip: Ask any recovery provider what happens if they can't recover your data. Reputable labs generally don't charge a full fee for an unsuccessful attempt, only for diagnostics or imaging already performed. Get that in writing before you commit.
How to stop this happening again
Every recovery conversation eventually turns to the same question: how do I avoid being here next time? The answer isn't complicated, but it does require actually doing it rather than meaning to.
RAID is not a backup. It protects you against a single drive failing, but it does nothing against accidental deletion, ransomware, fire, or theft, because all of that data lives in the one physical location. The only real protection is a 3‑2‑1 approach: three copies of your data, on two different types of storage, with one copy kept offsite or in the cloud, an approach storage engineers consistently recommend as the baseline for anyone who can't afford to lose their files.
Beyond backups, a few operational habits meaningfully cut your risk of ever needing recovery in the first place:
| Measure | What it does | Practical cadence |
|---|---|---|
| Uninterruptible power supply (UPS) | Prevents unclean shutdowns and write-hole parity corruption | Always on for any NAS running RAID |
| SMART monitoring | Flags reallocated or pending sectors before a drive fails outright | Scheduled weekly short tests, monthly long tests |
| Drive replacement cadence | Reduces risk from age-related wear | Proactively after 4 to 5 years of continuous use |
| Utilisation limit | Reduces mechanical stress and fragmentation | Keep usage below recommended capacity limits |
| Cooling and airflow | Reduces heat-related component wear | Adequate ventilation, avoid enclosed cabinets |
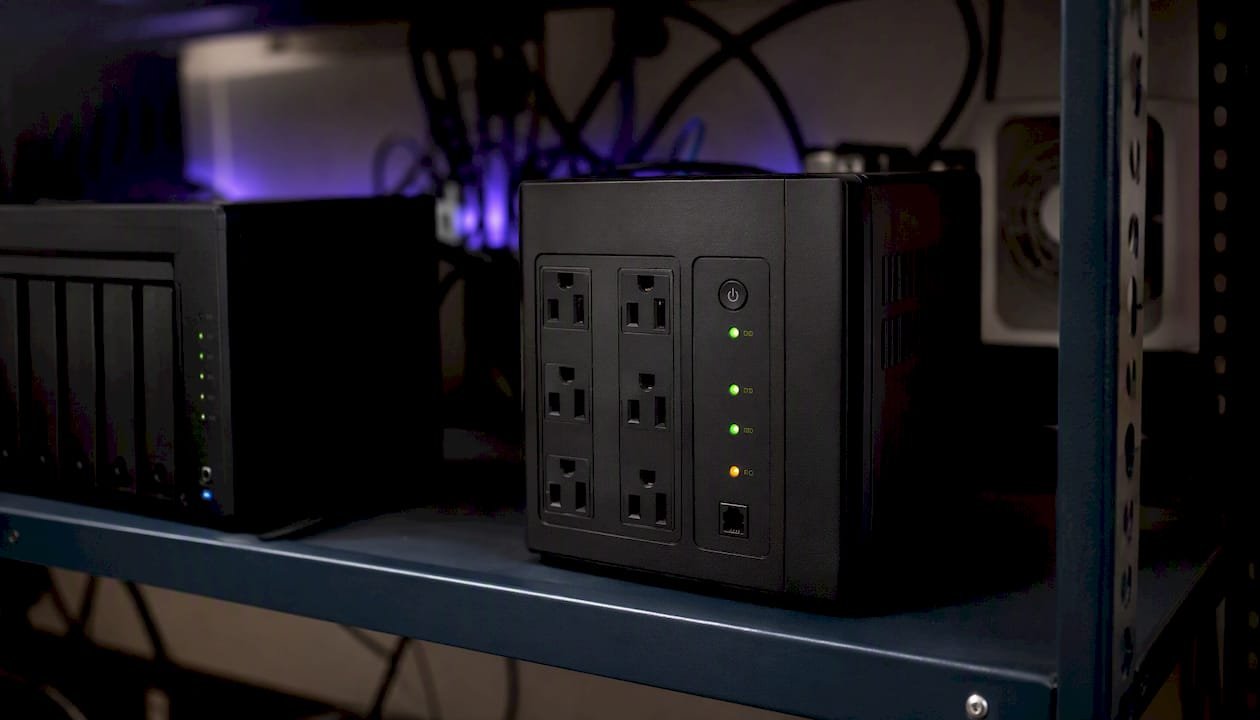
A UPS is genuinely one of the cheapest, highest-impact purchases you can make for a NAS. It exists specifically to give the array time for a clean shutdown during a power event, which avoids the parity corruption and risky resyncs that turn a minor outage into a multi-drive recovery job. Pair that with using drives actually rated for continuous NAS operation, since consumer desktop drives running 24/7 in a NAS chassis fail faster than drives designed for that workload.
Before you trust recovered files back onto a rebuilt NAS, check that they actually open. Spot-check documents, spreadsheets, and photos across different folders, confirm file sizes look reasonable rather than zero bytes, and if the recovery included a database or application data, test it in the actual application rather than just eyeballing the file in a folder. Only once you're confident the data is genuinely usable should you restore it and start using the NAS normally again.
When we say try it yourself, and when we say stop
Most of the NAS failures we see fall cleanly into one of two categories, and the honest advice differs sharply between them.
If it's a single accidental deletion, a corrupted volume after a power blip, or a firmware hiccup on an otherwise healthy array, we genuinely think a careful DIY attempt is worth your time. The tools covered above are capable, the risk to already-damaged data is low if you image first, and you'll likely save yourself a lab fee. We'd rather see you succeed on your own than pay for something you didn't need to.
Where we'd step in without hesitation: any clicking or grinding noise, two or more drives down at once, an array that failed mid-rebuild, or data that's business-critical and time-sensitive enough that a failed DIY attempt would be genuinely costly. We'd also lean toward professional help if the data involved has legal or regulatory sensitivity, client records, financial data, anything where "we tried our best" isn't an acceptable outcome if it goes wrong.
Cost shouldn't be the deciding factor it often becomes. A logical recovery attempt costs little more than time. A botched physical recovery attempt can turn a job that would have cost a few hundred dollars at a proper lab into one that costs considerably more, or makes the data unrecoverable altogether. When in doubt, the safer and often cheaper path in the long run is asking first.
How PC Scientist helps when your NAS won't cooperate
PC Scientist is the alternative to guessing your way through a NAS failure alone. Our Data Recovery Scientist service gives you an honest, on-site assessment where it's safe to do one, secure handling of your drives throughout, and access to cleanroom lab partnerships for the physical cases that genuinely need them, all without you having to work out which category your failure falls into by yourself.
Booking a diagnostic is straightforward. Tell us your NAS brand and model, what symptoms you're seeing (noise, error codes, drive count), and whether you've already attempted anything yourself. We'll assess whether remote guidance is enough, whether an on-site visit makes sense, or whether your drives need to come to a lab. You'll get a clear picture of likely cost and turnaround before anything proceeds, and if your NAS enclosure itself needs attention separately from the drives, our business IT support team can handle that alongside the recovery. Get in touch through the Data Recovery Scientist page to start a diagnostic today.
Sources
These sources cover the vendor-specific and technical detail behind the advice in this guide, worth reading directly if your situation is unusual or you want the full technical procedure for your exact device.
- How to fix hard drive failure and retrieve the data from your hard drives - Synology Knowledge Center
- NAS drive failure: MTBF and AFR explained - Need to Know IT
- What can damage a NAS hard drive? 5 key causes and how to stop them - UGREEN NAS
- Please stop running your home NAS without a UPS (it's not just about power outages) - Yahoo Tech
When following vendor recovery steps directly, only use the options your NAS vendor labels as non-destructive, such as an "online assemble" or "repair volume" tool that explicitly states it won't overwrite data. If a vendor guide asks you to reformat, reinitialise, or force-rebuild before you've secured an image of your drives, stop and image first regardless of what the interface suggests.
Recommended
- Case Studies | Real IT Support, Website and Network Outcomes | PC Scientist
- Computer Repair Scientist | Laptop & Desktop Hardware Help NSW | PC Scientist
- Contact PC Scientist | Call for Computer, Wi-Fi, Email & Device Help in NSW
Frequently Asked Questions
Straight answers about NAS data recovery: practical steps and when to call a pro - without jargon or pressure. Call 0493 563 381 for advice, or get help below.
Want the quickest answer? 0493 563 381 for free advice.
Most NAS-rated drives run reliably for around four to five years of continuous use before failure risk rises sharply, which is why proactive replacement on that cadence is standard professional advice rather than waiting for a warning sign.
Check power and network cables first, then try accessing it directly through its admin interface (DSM, QTS, or equivalent) via a wired connection; if that fails, the drives themselves may need to be removed and connected directly to a PC for diagnosis.
Check your NAS vendor's built-in recycle bin or snapshot feature first, since Synology's File Station and similar tools on other brands can often restore a deleted file instantly without any third-party software.
Start with DSM's online assemble or recycle bin features, and if those don't resolve it, image the drives and run recovery software designed for Btrfs or EXT4 depending on your model; complex SHR arrays with mixed drive sizes often need professional help.
Yes, particularly for RAID reconstructions. Working from disk images rather than original drives limits the damage, but a failed attempt on a physically compromised drive can make a subsequent professional recovery harder or impossible.
Data recovery across NSW
Still stuck with NAS data recovery?
If files have gone missing, that is okay. Get data recovery help in your area and we will take it from here.
Start here
Get data recovery help
Optional Need a Sydney city or region?
Choose a side of Sydney
These are Sydney cities and regions, such as the Northern Beaches or Inner West. First tap a side of Sydney. Then open the city or region that covers you.
C Sydney City / Inner 3 areas
N Northern Sydney 6 areas
NW North-West / Central Sydney 3 areas
W Western Sydney 1 area
SW South-West Sydney 3 areas
S Southern Sydney 2 areas
Optional Find your suburb
Type a suburb from our listed coverage. This opens the matching city or region page for this topic. Listed suburb pages are general technology services, not this specialist page.
If your suburb is not listed, use the city or region list above, or call 0493 563 381.
Disclaimer
The information in this article is provided for general educational and informational purposes only. While PC Scientist strives to keep all content accurate and up to date, technology issues can vary depending on your device, software, network configuration, and individual circumstances. Always back up important data before attempting repairs or system changes. If you are unsure or the issue cannot be resolved safely, contact PC Scientist today for professional onsite or remote IT support. PC Scientist is not liable for any loss of data, damage, or other issues resulting from the use of the information provided in this article.